GitHub Actions: Deploying .NET to Azure App Service
In this post, I am going to outline a step by step guide to build and deploy an .Net Core application to an Azure App Service using GitHub Actions.
Before starting to create the GitHub Actions workflow to deploy the application, let’s create the required resources on Azure. For simplicity I will create these resources manually of course you can use any infrastructure tools like Terraform, Bicep, ect to create the required infrastructure.
Create Resources on Azure
We are going to deploy the app on an Azure App Service, so we need to create Web App resource on Azure. Follow the following steps:
- Sign in to Azure Portal
- From the home page, click on
Create a resource, it will redirect you to Microsoft Azure Marketplace to select your desired resource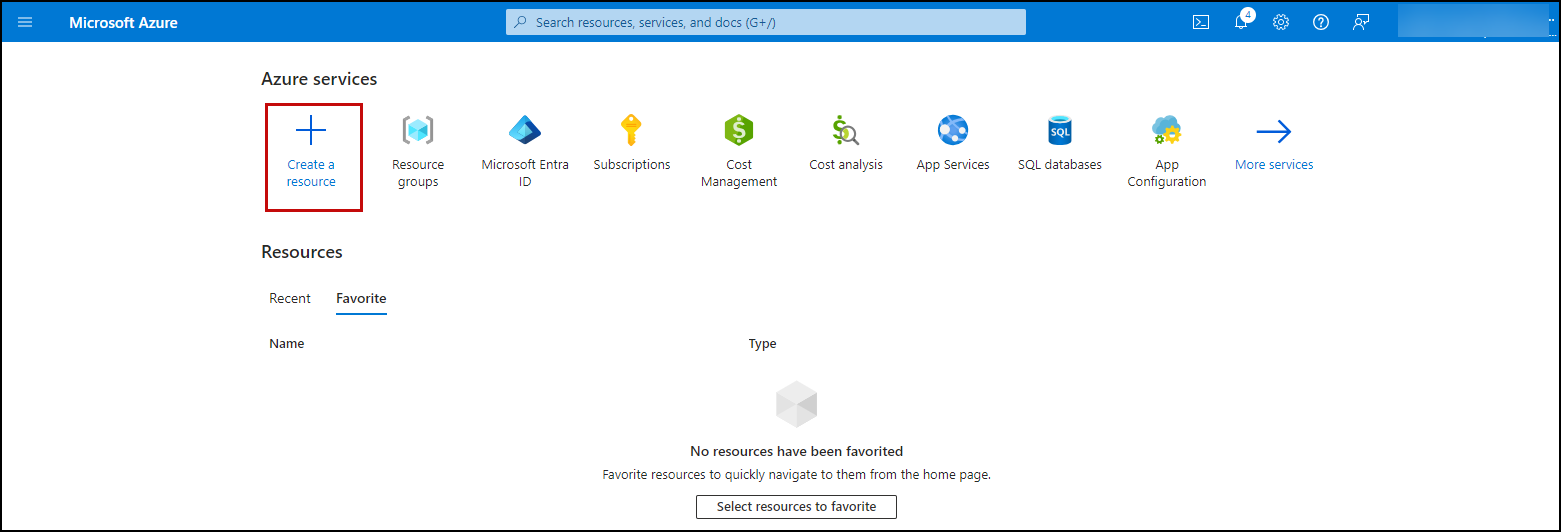
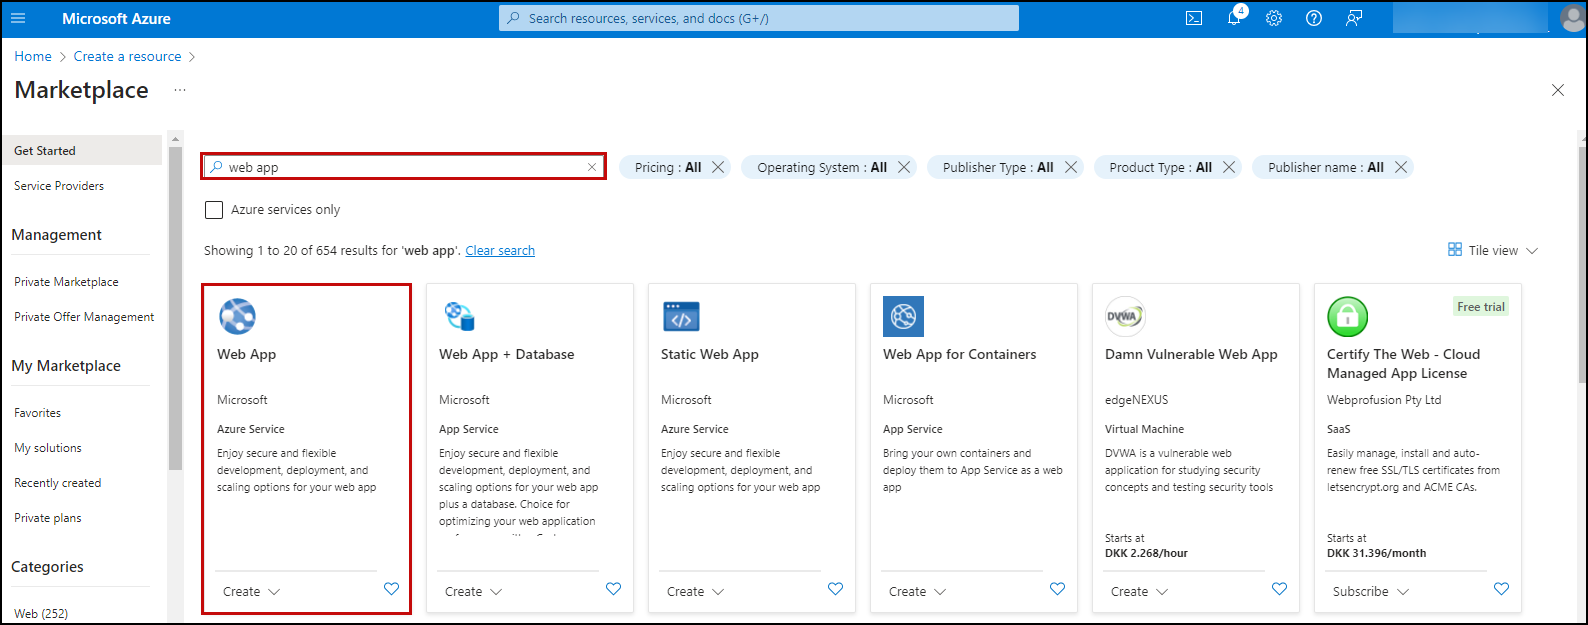
- In the search bar, type web app, and click on it
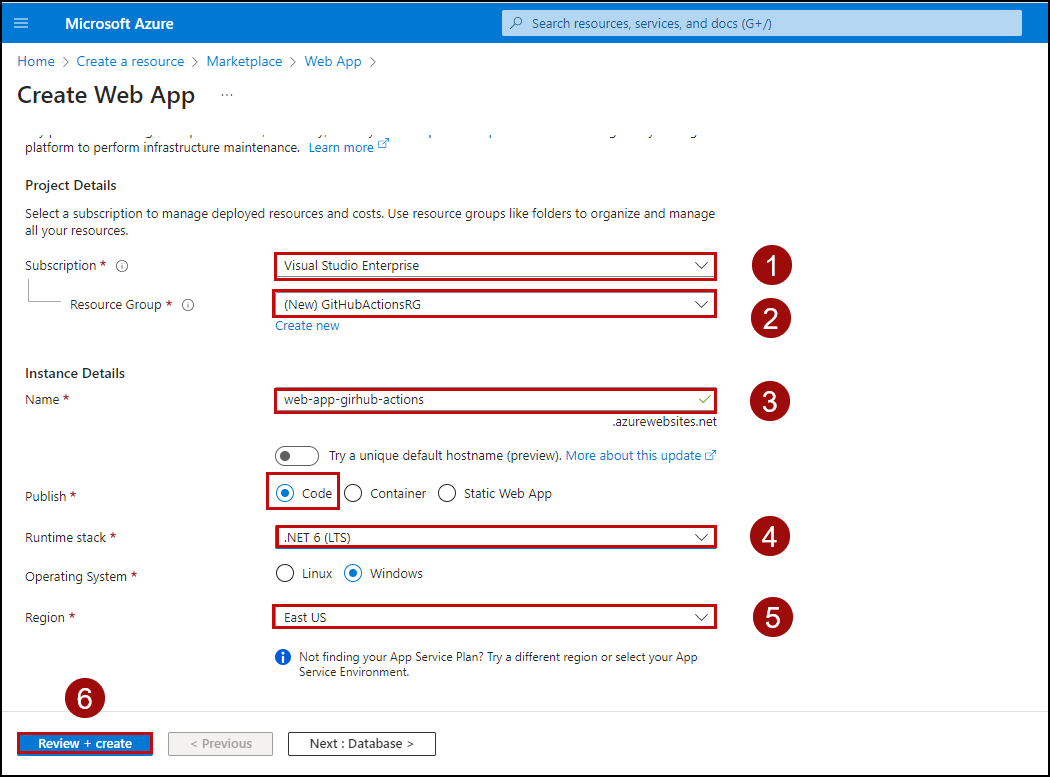
- Fill in the required information to configure your web app resource
- Select the desired subscription, if you have many
- Choose the Resource Group, that the resources are going to be created inside. If you would to create a new one click on
Create a new, and provide it’s name. - Enter a unique name for your web app. The system will check for name availability and validate it. If the name is already taken, you will need to choose another.
- Select Publish option to Code
- Select a run time stack, in my case I will select .NET 6
- Select Select your app deployment region
- Once finished all the resource details, click on Review + create
- It will take some time to finish the deployment of the resources
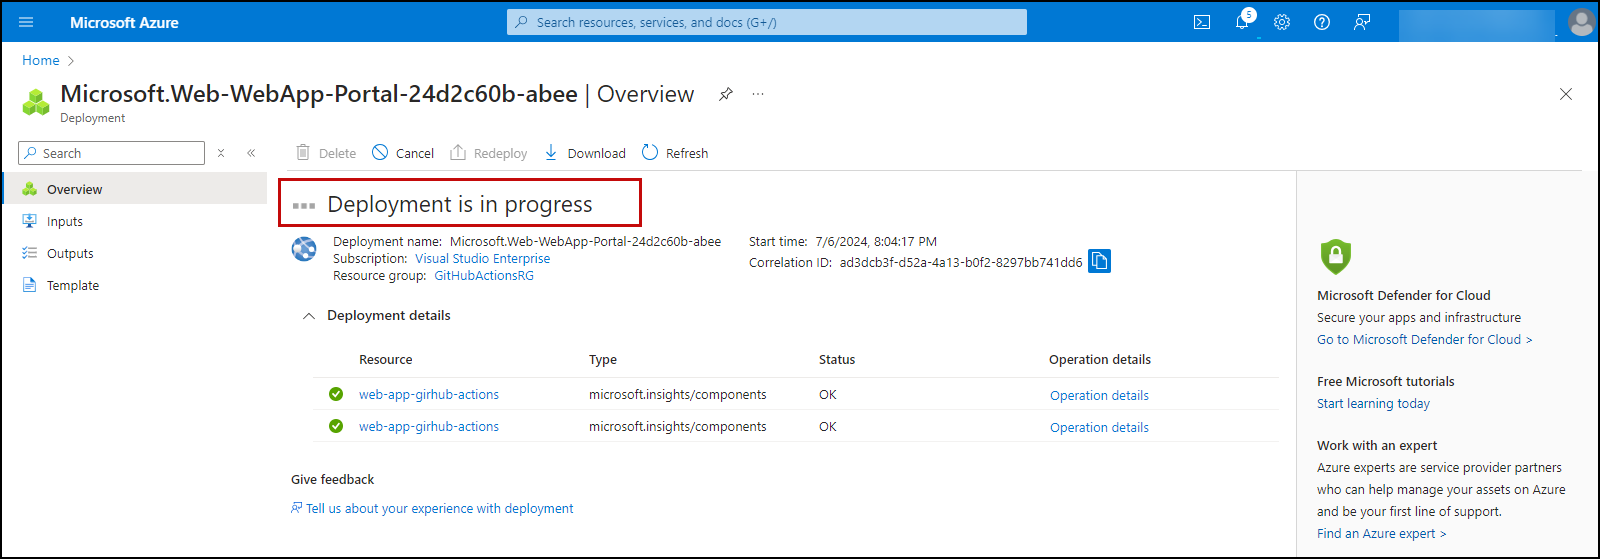
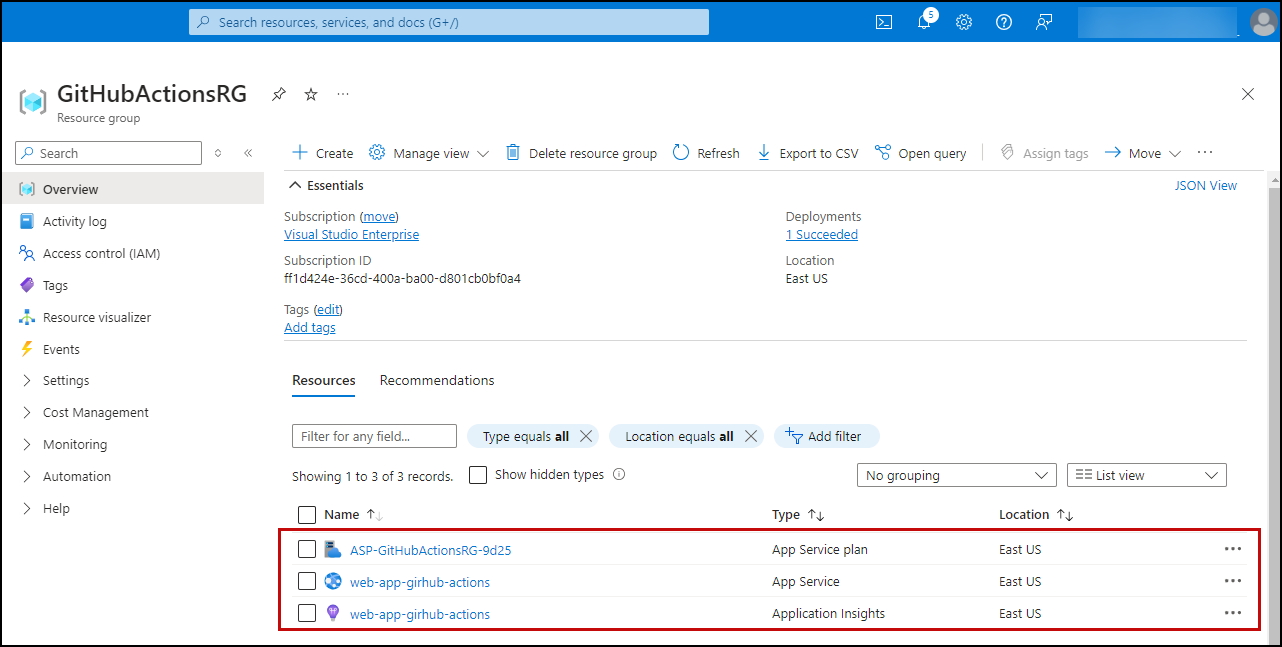
- After finishing, you can navigate to the resource group to we selected while creating the resources, and you can find all resources created successfully
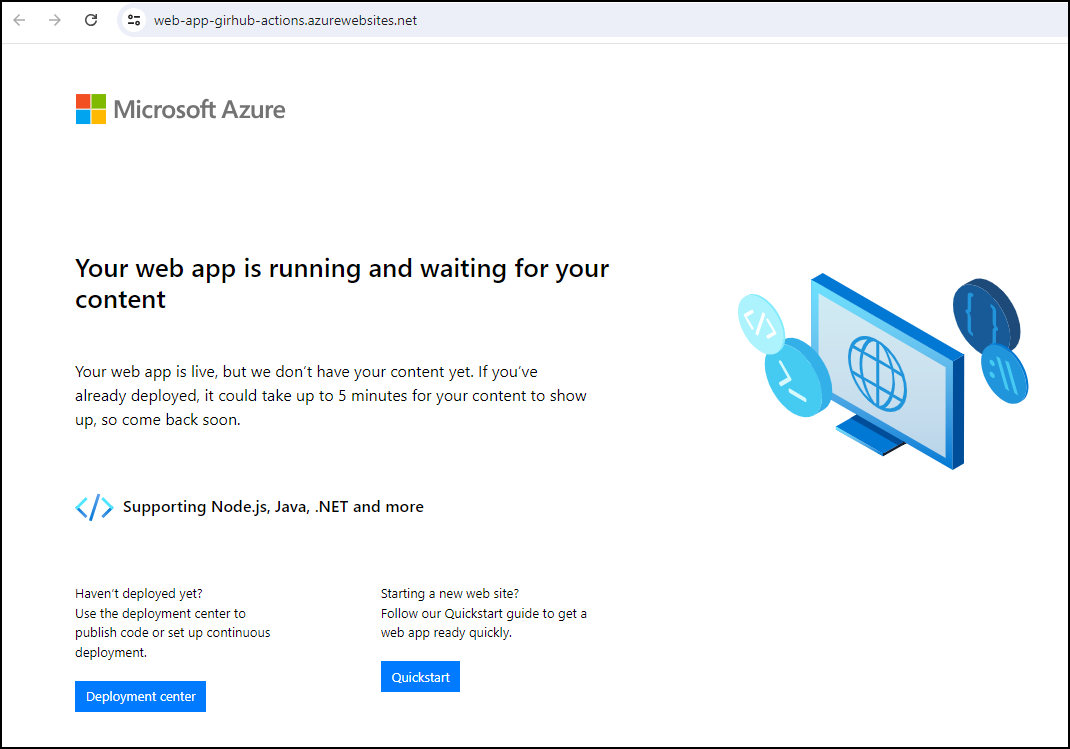
- Click on the created App Service resource, and click on Browse to check it. As we haven’t deployed our app yet this is the default layout.
As we prepared our Azure Resources, now it is time to work on our GitHub Action workflow to build and deploy the application to the created Azure resources.
Create GitHub Action Workflow
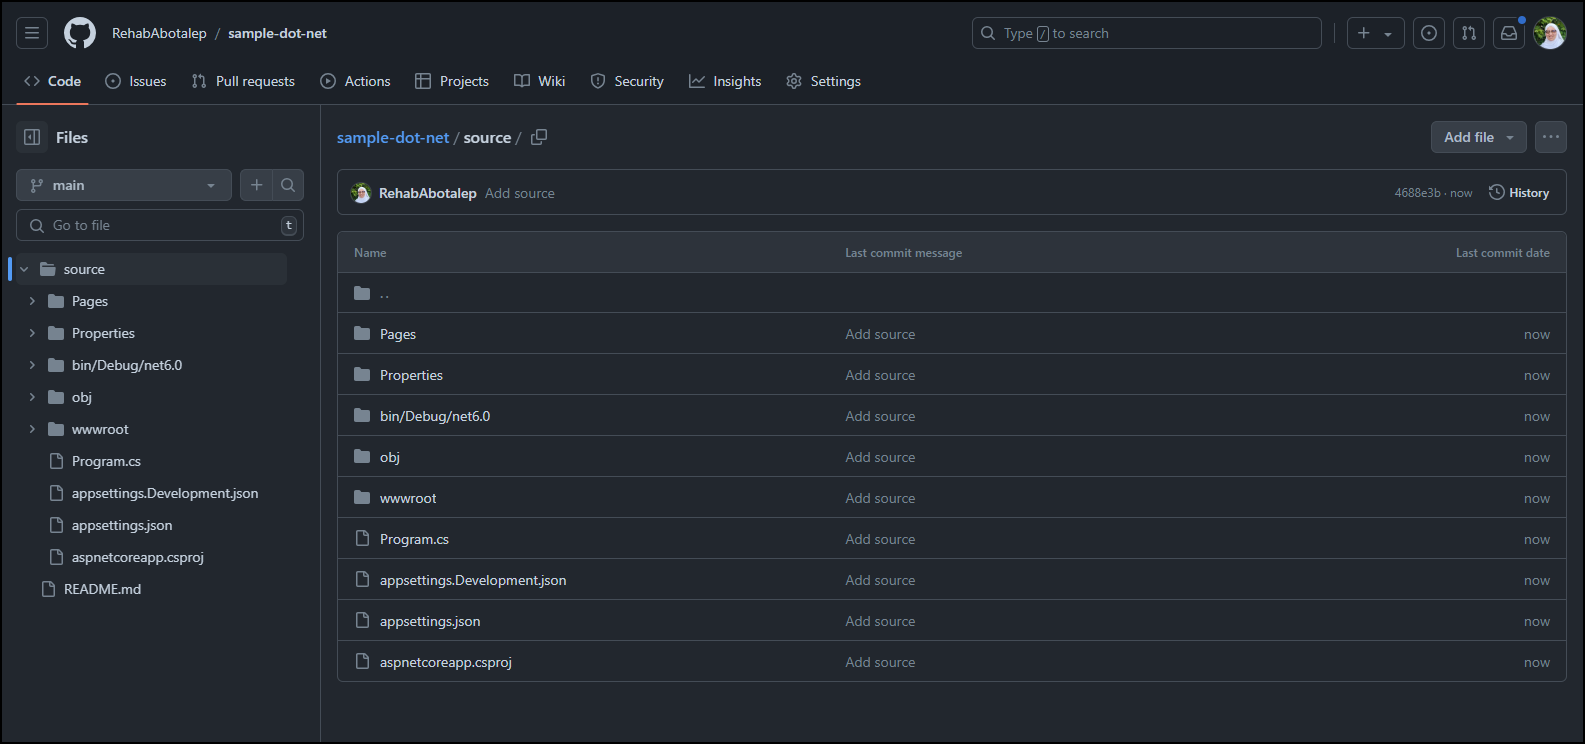
I used a sample .NET app to be deployed, you can use your own or, if you would like to use the same app you can find the code in the following: GitHub Repo
First, create a new repo, and push your code to it. You can setup your own workflow, or you can use a starter workflow provided by GitHub. These templates are pre-configured and can save time.
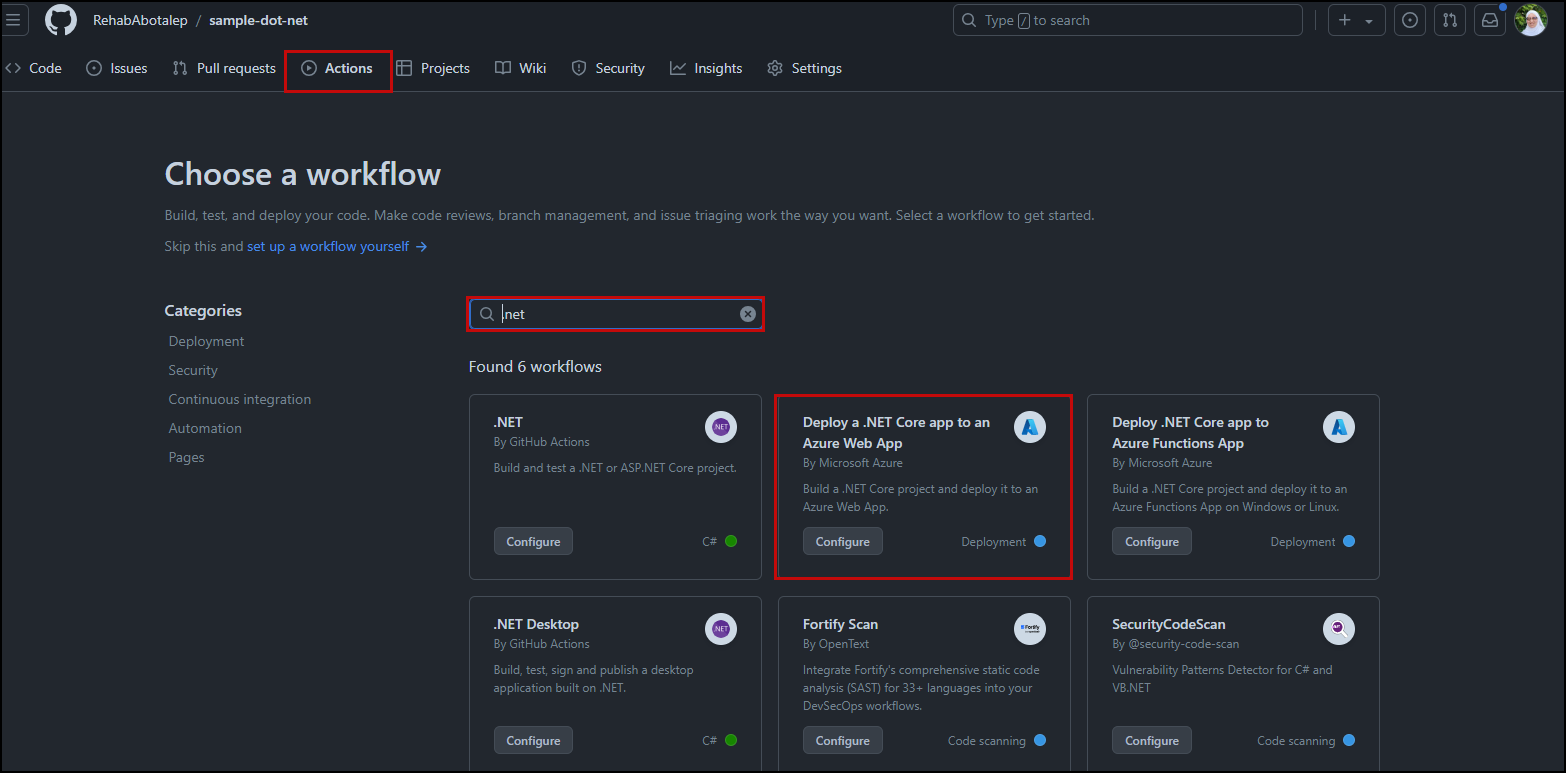
Choosing and using a starter workflow
- On GitHub.com, navigate to the main page of the repository.
- Under your repository name, click Actions.
- Search for .NET to filter the workflows, and select Deploy a .NET Core app to an Azure Web App template
- Click configure on the selected template This will create a new .yml file under the following location in your repo:
.github/workflows
Workflow
This is the final workflow, after making some changes:
1
2
3
4
5
6
7
8
9
10
11
12
13
14
15
16
17
18
19
20
21
22
23
24
25
26
27
28
29
30
31
32
33
34
35
36
37
38
39
40
41
42
43
44
45
46
47
48
49
50
51
52
53
54
55
56
57
58
59
60
61
62
63
64
65
66
67
68
69
70
71
72
73
74
# This workflow will build and push a .NET Core app to an Azure Web App when a commit is pushed to your default branch.

name: Build and deploy ASP.Net Core app to an Azure Web App

env:
  AZURE_WEBAPP_NAME: web-app-github-actions   # set this to the name of your Azure Web App
  AZURE_WEBAPP_PACKAGE_PATH: '.'      # set this to the path to your web app project, defaults to the repository root
  DOTNET_VERSION: '6.0.x'                 # set this to the .NET Core version to use

on:
  workflow_dispatch:

permissions:
  contents: read

jobs:
  build:
    runs-on: ubuntu-latest

    defaults:
      run:
        working-directory: ./source/app-dotnet

    steps:
      - uses: actions/checkout@v4

      - name: Set up .NET Core
        uses: actions/setup-dotnet@v2
        with:
          dotnet-version: $

      - name: Set up dependency caching for faster builds
        uses: actions/cache@v3
        with:
          path: ~/.nuget/packages
          key: $-nuget-$
          restore-keys: |
            $-nuget-

      - name: Build with dotnet
        run: dotnet build --configuration Release

      - name: dotnet publish
        run: dotnet publish -c Release -o $/myapp

      - name: Upload artifact for deployment job
        uses: actions/upload-artifact@v3
        with:
          name: .net-app
          path: $/myapp

  deploy:
    permissions:
      contents: none
    runs-on: ubuntu-latest
    needs: build
    environment:
      name: 'Development'
      url: $

    steps:
      - name: Download artifact from build job
        uses: actions/download-artifact@v3
        with:
          name: .net-app

      - name: Deploy to Azure Web App
        id: deploy-to-webapp
        uses: azure/webapps-deploy@v2
        with:
          app-name: $
          publish-profile: $
          package: $
Breakdown the workflow
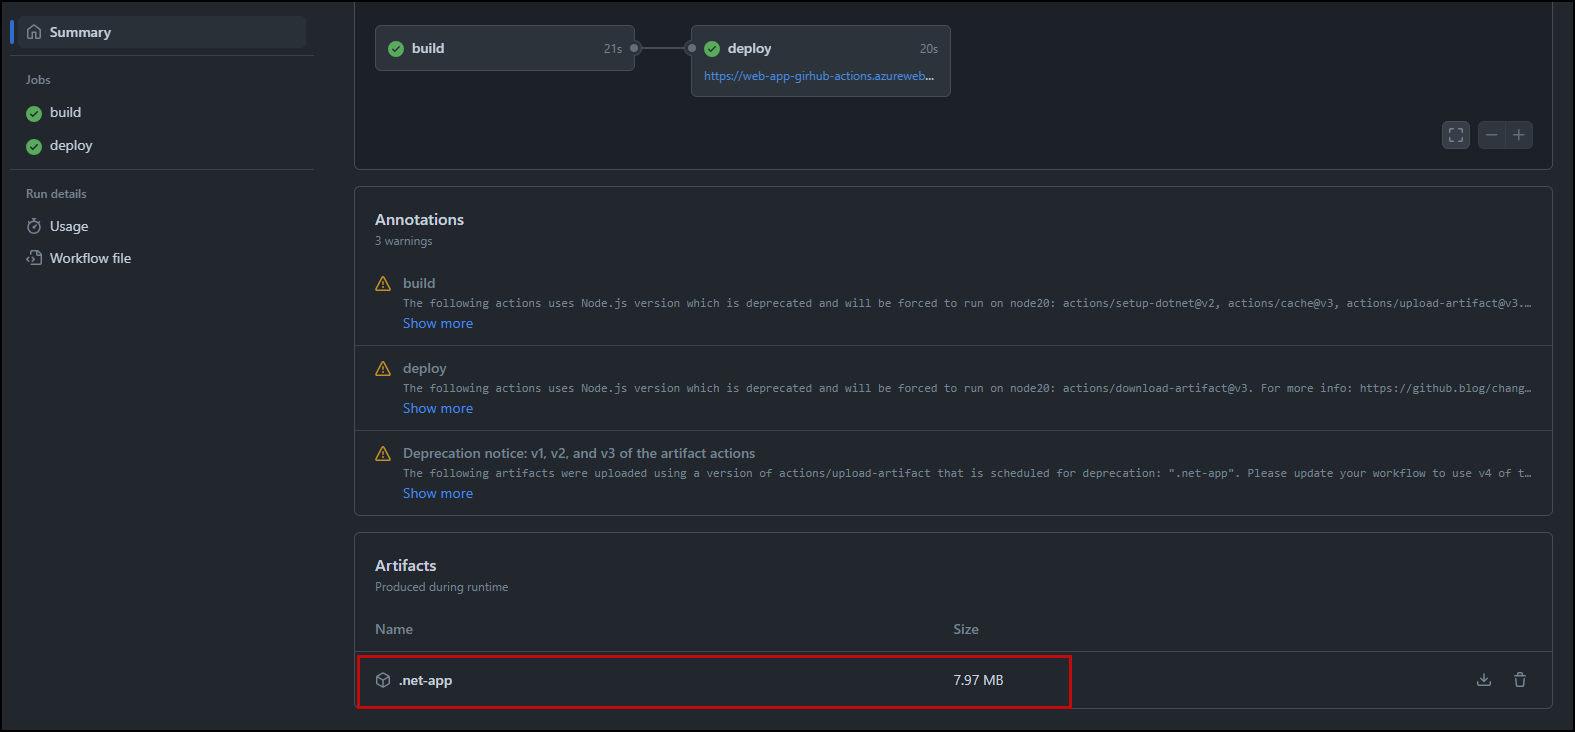
The workflow consists of two jobs: build and deploy. Build job will restore dependencies, build the application and create the package (artifact), and then upload it to GitHub.
Deploy job starts by downloading the build artifact from GitHub. This is necessary because the deploy job runs on a different runner machine than the build job, then deploy the app to the created Azure resource.

Let’s breakdown the workflow to understand it:
- Name and Environment Variables
- name: The name of the workflow.
- env: Defines environment variables used throughout the workflow, including the Azure Web App name, package path, and .NET version (replace these values with your own)
Don’t forget to replace AZURE_WEBAPP_NAME variable with the name of your web app created on Azure, also make sure the .NET version matches the version used in your application.
Trigger
- on: workflow_dispatch: This allows the workflow to be triggered manually from the GitHub Actions tab.
Permissions
- permissions: contents: read: Sets read permissions for repository contents.
Jobs
Build Job
- runs-on: ubuntu-latest: Specifies the runner for the job.
- defaults: Sets the default working directory for the steps within this job. As my code is inside source directory I put it to :
./source/app-dotnet - steps:
- actions/checkout@v4: Checks out the code from the repository.
- actions/setup-dotnet@v2: Sets up the .NET environment based on the specified version on the environment variables.
- actions/cache@v3: Caches the NuGet packages to speed up subsequent builds.
- dotnet build –configuration Release: Builds the .NET project in Release mode.
- dotnet publish -c Release -o $/myapp: Publishes the project to the specified directory.
- actions/upload-artifact@v3: Uploads the published project as an artifact to GitHub.
Deploy Job
- deploy: The second job that deploys the application to Azure.
- runs-on: ubuntu-latest: Specifies the runner for the job.
- needs: build: Specifies that this job depends on he build job. As the deploy job use the created package from the build job to deploy it to Azure, so the deploy job needs build job to be completed successfully first. Then it will start.
- environment: Defines deployment environment details.
- steps:
- actions/download-artifact@v3: Downloads the build artifact.
- azure/webapps-deploy@v2: Deploys the downloaded artifact to the Azure Web App.
By default jobs run in parallel in GitHub Actions, if we need to create dependencies between jobs to run sequentially use
needskeyword.
Generate Deployment Credentials
As our GitHub Action workflow deploys to Azure App Service, so GitHub needs to authenticate with it.
There are many ways to authenticate with Azure App Services for GitHub Actions such as OpenID connect, publish profile, service principle, and User-assigned Managed Identity.
In our workflow we used publish profile as shown here: publish-profile: $ in azure/webapps-deploy@v2.
Publish profile is a configuration file that contains all the information and credentials needed to publish an application to an Azure App Service.
Publish profile requires basic authentication to be enabled.
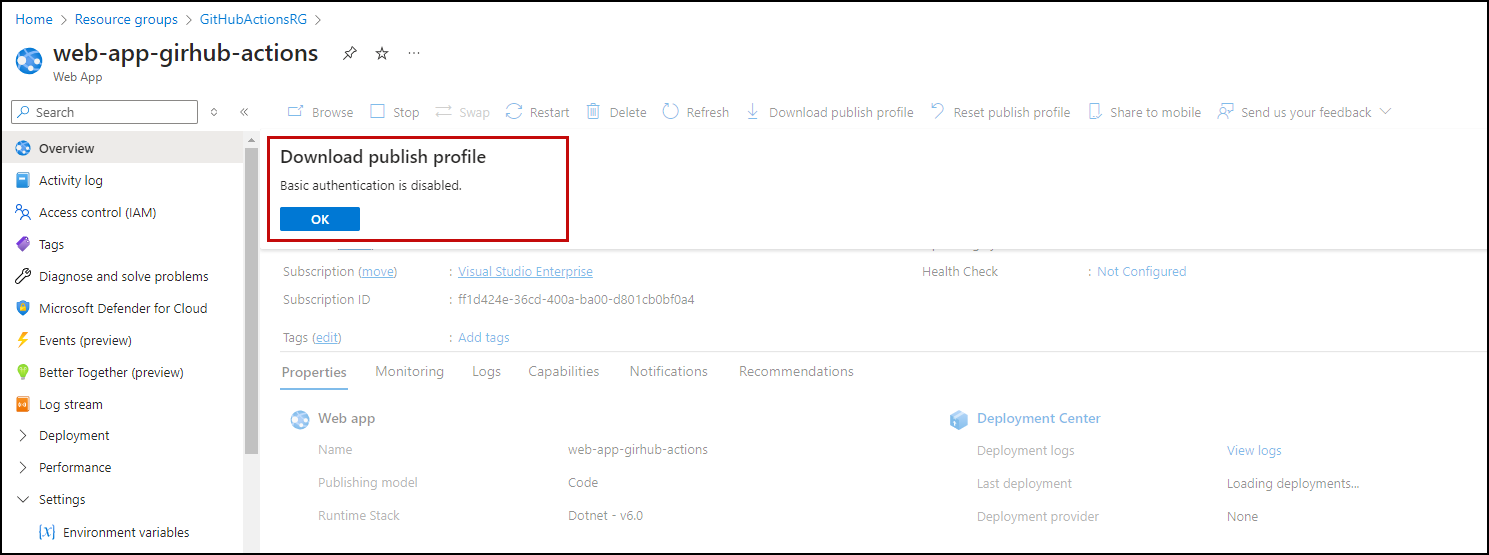
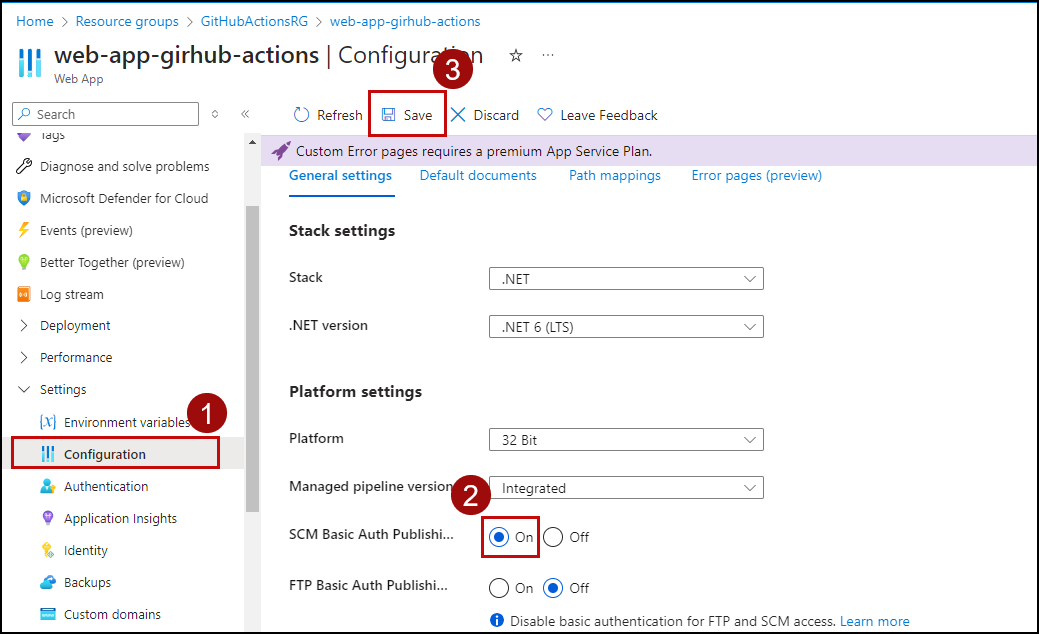
Enable web app basic authentication
To enable the basic authentication for your web app
- Navigate to web app Settings section
- Click on Configuration
- Select
Onfor SCM Basic Auth Publishing Credentials - Click Save
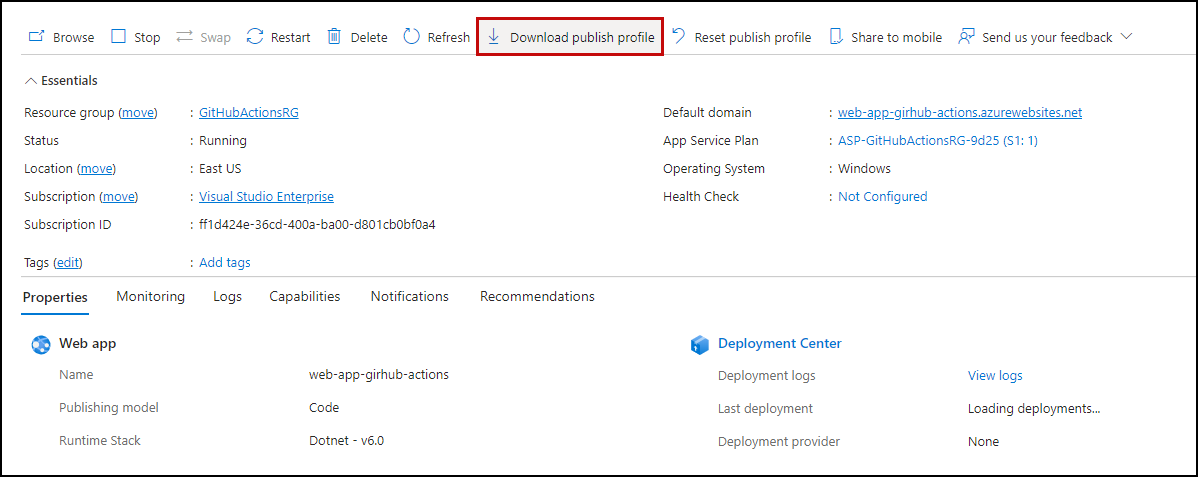
Download publish profile
Navigate to the overview section of the web app, then click Download publish profile
Add the Publish Profile to GitHub Secrets
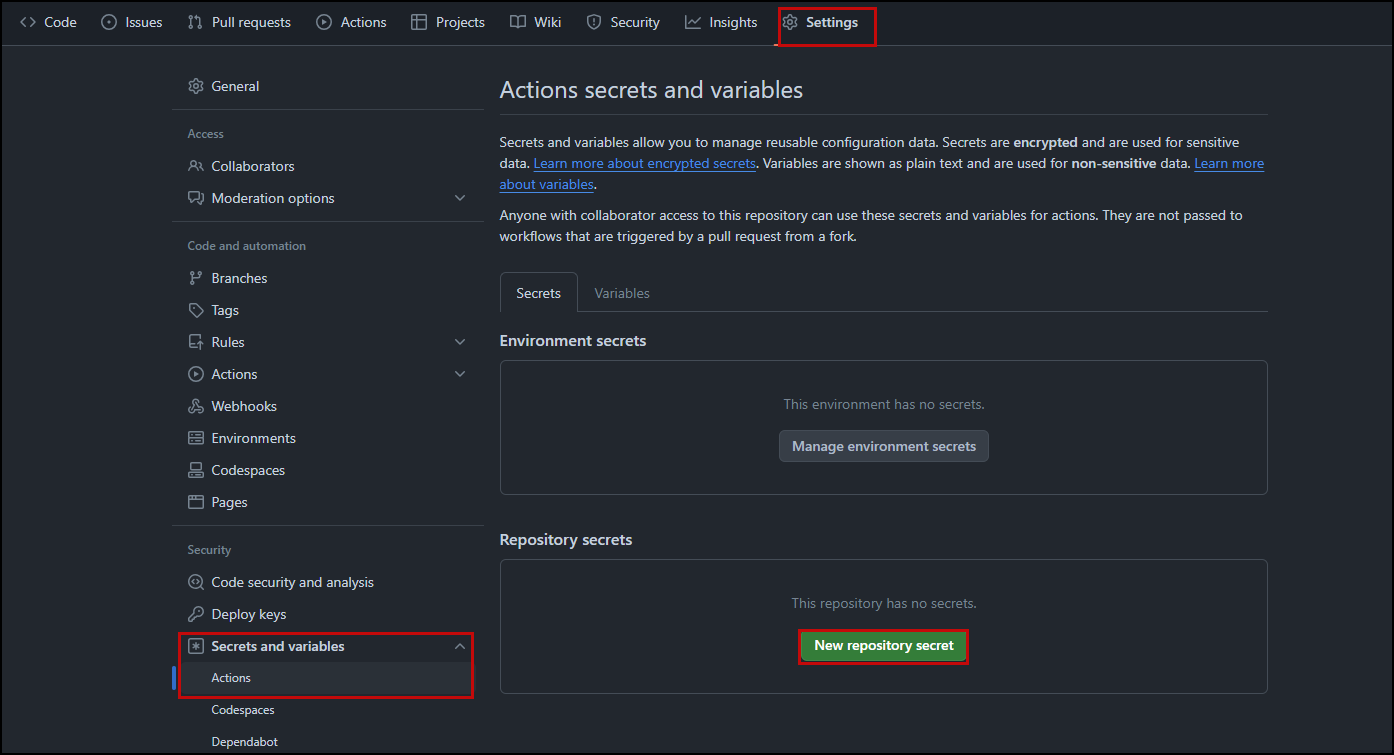
- In your repository select Settings
- Under Secrets and variables section, select Actions
- Click on New repository secret
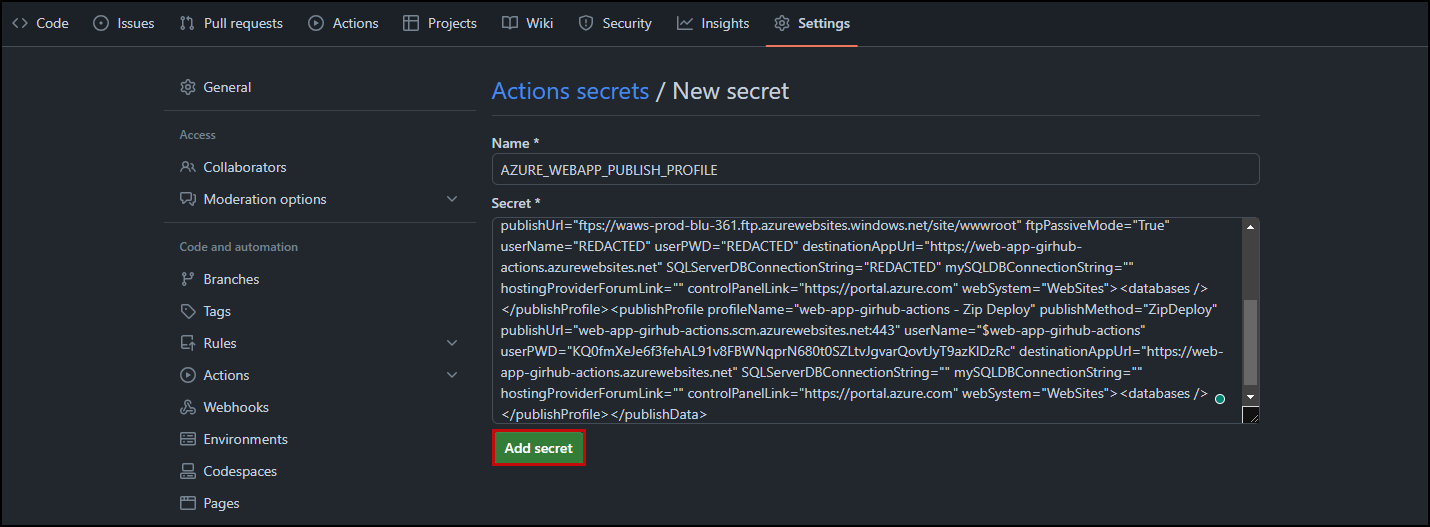
- For the name of the secret, put the same name we used on our workflow
AZURE_WEBAPP_PUBLISH_PROFILEin the webapps-deploy action - Copy the content of the downloaded publish profile file and paste it in secret
Run Workflow
We are ready now to run our workflow, navigate to Actions on your repo, under the All workflows section you will find a workflow with the name: Build and deploy ASP.Net Core app to an Azure Web App, then click on Run workflow.
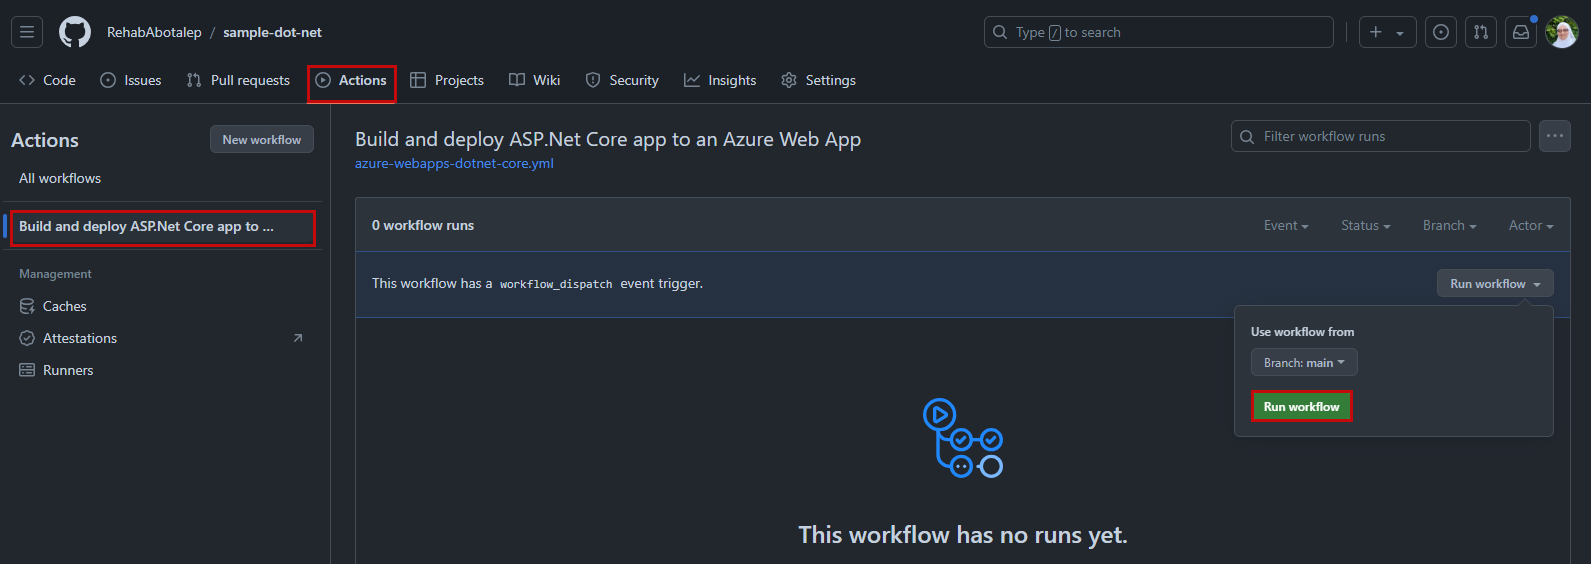
The workflow will build and deploy the app as discussed, automating the entire process from code to deployment on Azure.
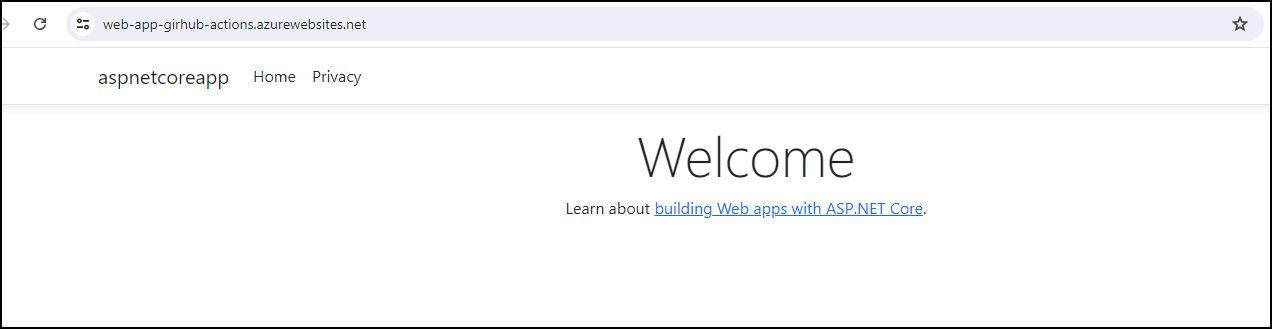
Verify the deployment
Navigate to web app, and refresh it. You should see now the web app deployed successfully.
You can find the downloaded artifact from the build job on the workflow run summary as the following image