Migrate TFVC to Git in Azure DevOps
Migrating from TFVC to Git in Azure DevOps can bring numerous advantages, including better collaboration, easier branching and merging, and improved performance. With Git’s distributed nature, teams can work more independently and efficiently, while still having full visibility into changes and history.
If you’re considering migrating from TFVC to Git in Azure DevOps, this post will guide you through the process step-by-step by introducing two main options for migration.
First Option: TFVC Import Tool
It is an out of box tool in Azure DevOps, The migration is very simple and great for small simple TFVC repositories.
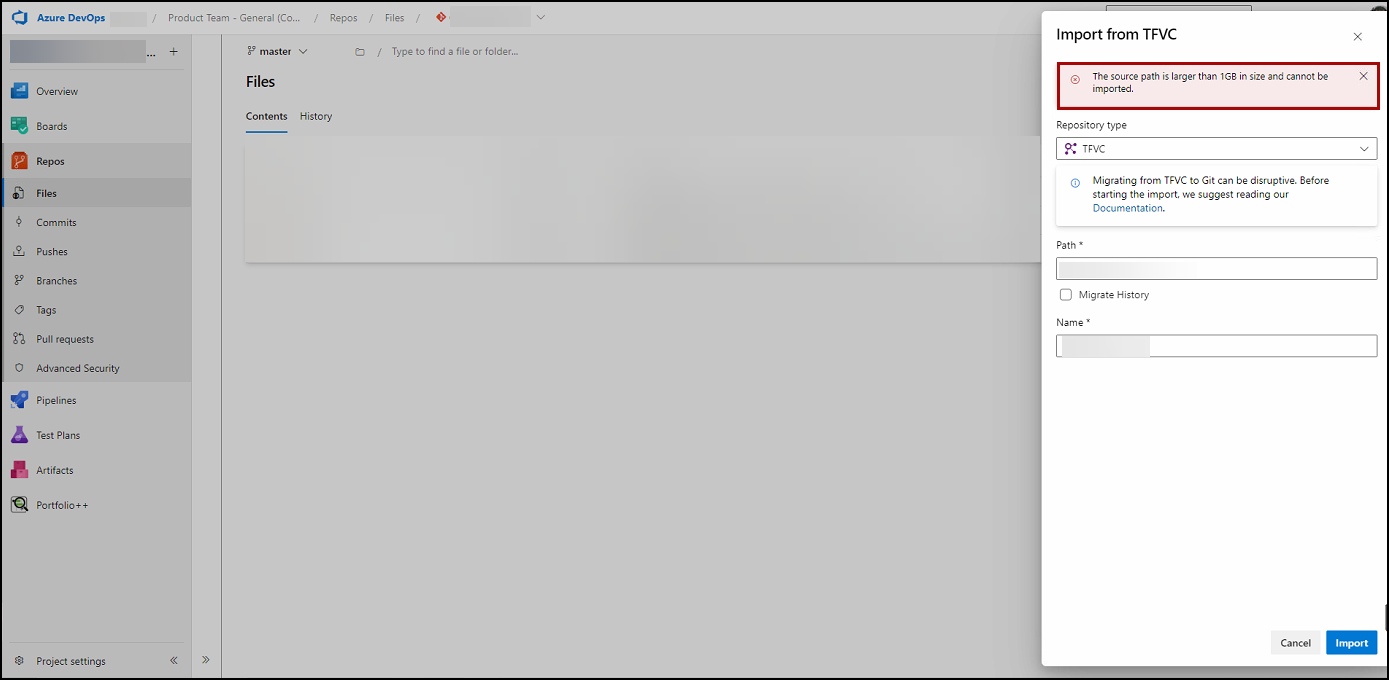
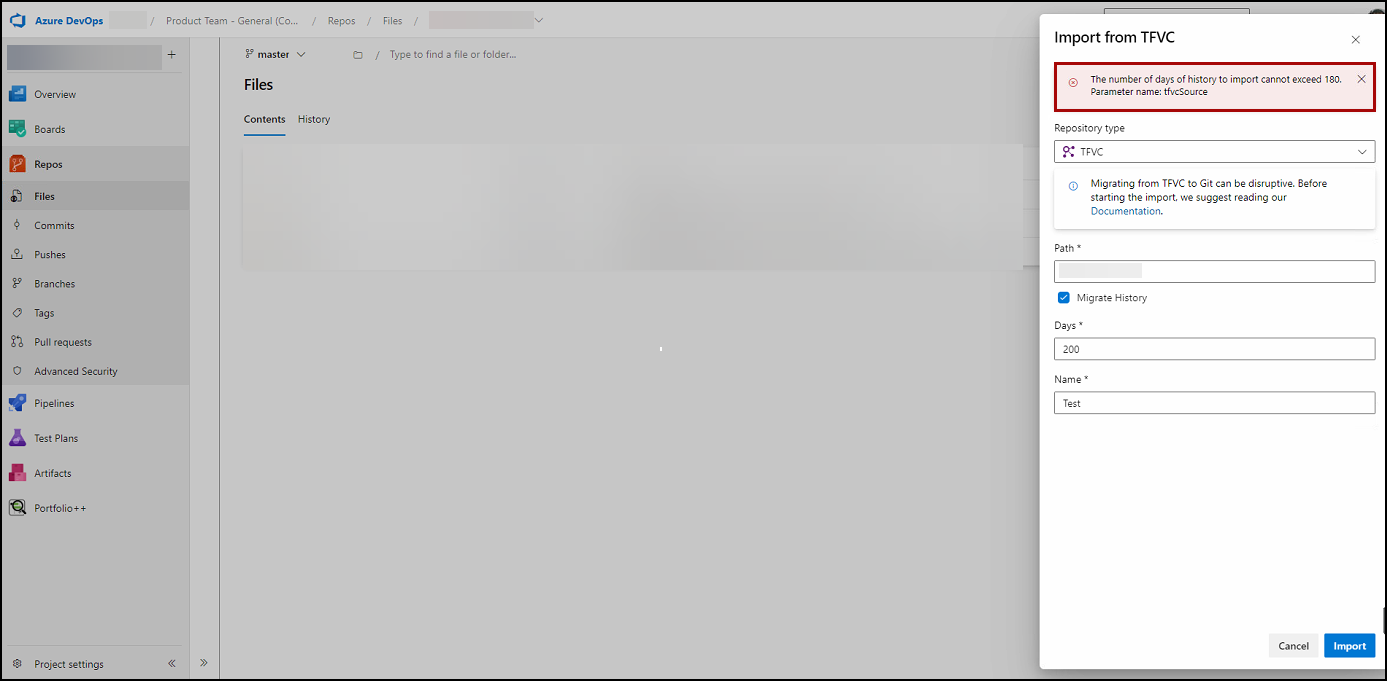
Check out the image below for the migration steps:
Limitation of using TFVC Import Tool:
Using this option has some limitations, including:
The imported repository and associated history cannot exceed 1GB in size.
You can import up to only 180 days of history.
What if your repo size exceeds 1 GB, or you need to import all history which may exceed 180 days? You may want to consider the second option: using the GIT-TFS tool.
Second Option: GIT-TFS Tool
It is a two-way bridge between TFVC and Git, and you can use it to perform a migration. It is suitable for a migration with a full history, more than the 180 days that the Import tool supports.
Here are the steps to migrate from TFVC to Git using GIT-TFS:
Installation: If Chocolatey (Package Manager for Windows) is already installed on your machine, run
choco install gittfs.If Chocolatey is not installed, you can install it from here.
To confirm that git-tfs is installed on your machine, run
git tfs --version.Run git tfs clone, and pass the TFVC repository’s URL and repository path as arguments.
The URL should be as following:
git tfs clone https://dev.azure.com/{Organization} $/{Repo}For example, if you want to migrate a repository named
examplefromhttps://dev.azure.com/TestOrgrungit tfs clone https://dev.azure.com/TestOrg $/example
After running this command, you will have a local Git repo migrated from TFVC. You can then push the resulting local Git repository to any Git platform of your choice, such as Azure DevOps, GitHub, Bitbucket, or others.
The cloning process can take a significant amount of time, depending on the size of your TFVC repository and its history. I have worked on a repository that was 2 GB in size with 3 branches, and it took approximately 4 hours to complete the migration.
If your repository’s name contains spaces, it’s essential to enclose it within double quotes when initiating the migration process. For example, if you intend to migrate a repository named
example repofromhttps://dev.azure.com/TestOrg, run the following command:git tfs clone https://dev.azure.com/TestOrg $/"example repo"
Summary
In summary, with the instructions provided in this post, you can successfully migrate from TFVC to Git in Azure DevOps. By doing so, you can take advantage of the benefits that Git provides and improve your team’s productivity and collaboration.